Interested in how to customize a ConvertKit form? You might like this post. Here are a few ideas for your ConvertKit customizing pleasure.
How to Customize a Convertkit Form
Simple Convertkit Form Customization
Log into your ConvertKit account and click on “Forms” in the top toolbar.
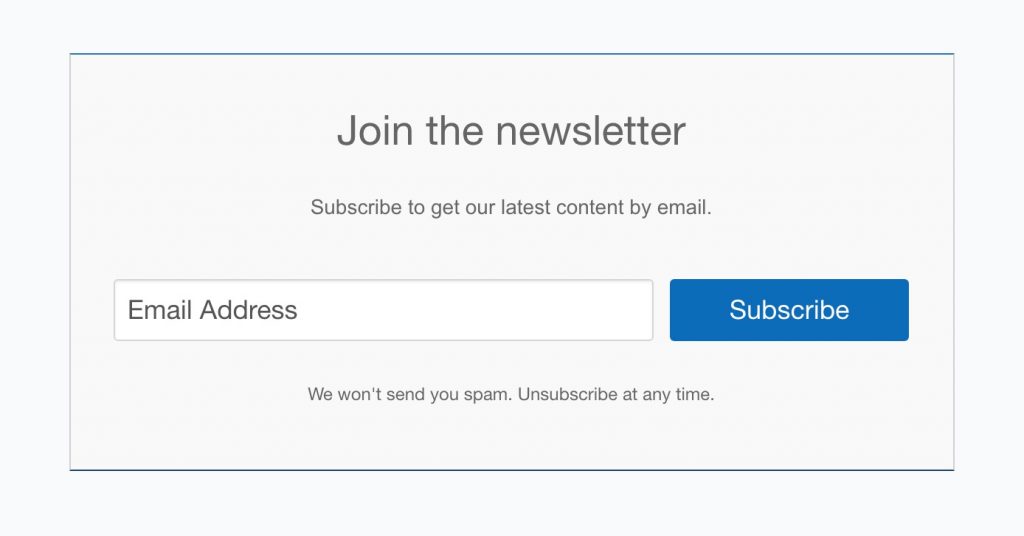
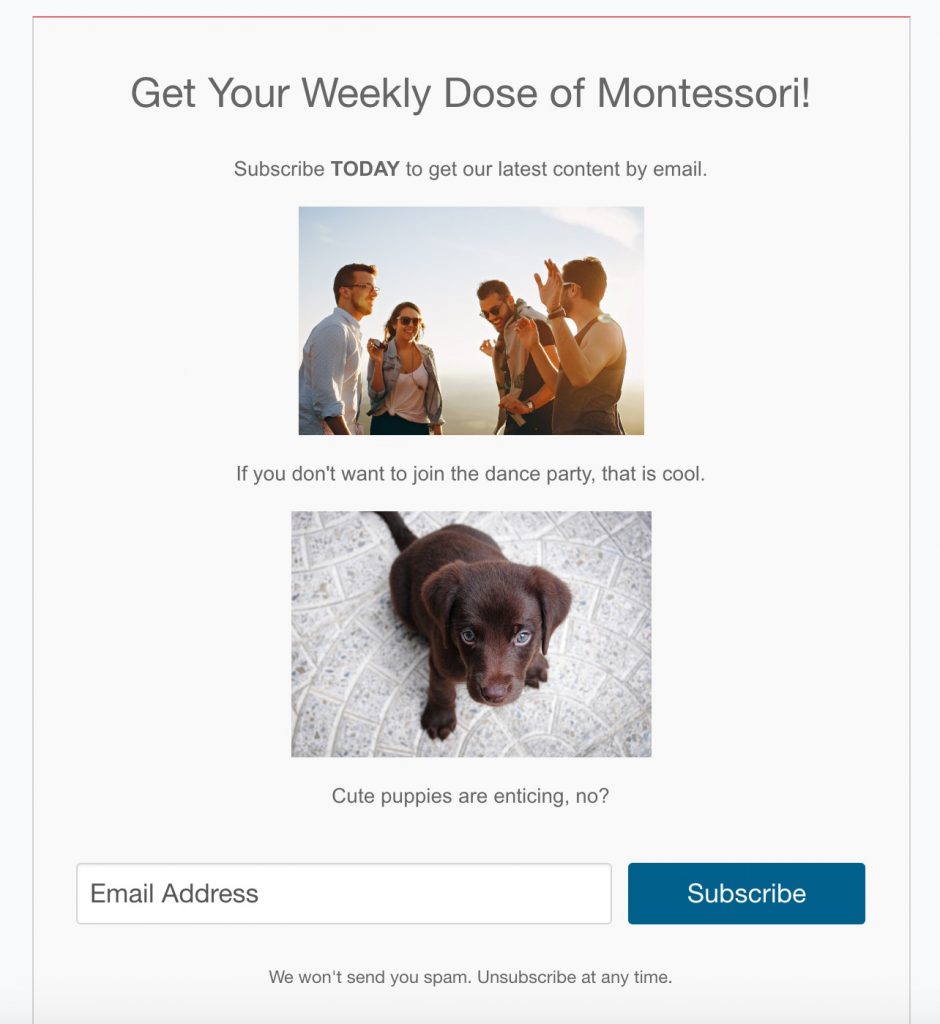
Choose any form or create a new one. Here is what the default form looks like in ConvertKit. Not bad but could definitely use a bit of improvement.
The good news is that it is actually quite easy to customize a ConvertKit form.
You can implement simple style customizations if that is all you have the time and energy to do and that is okay. Match up your brand colors with the form and that is a great start!
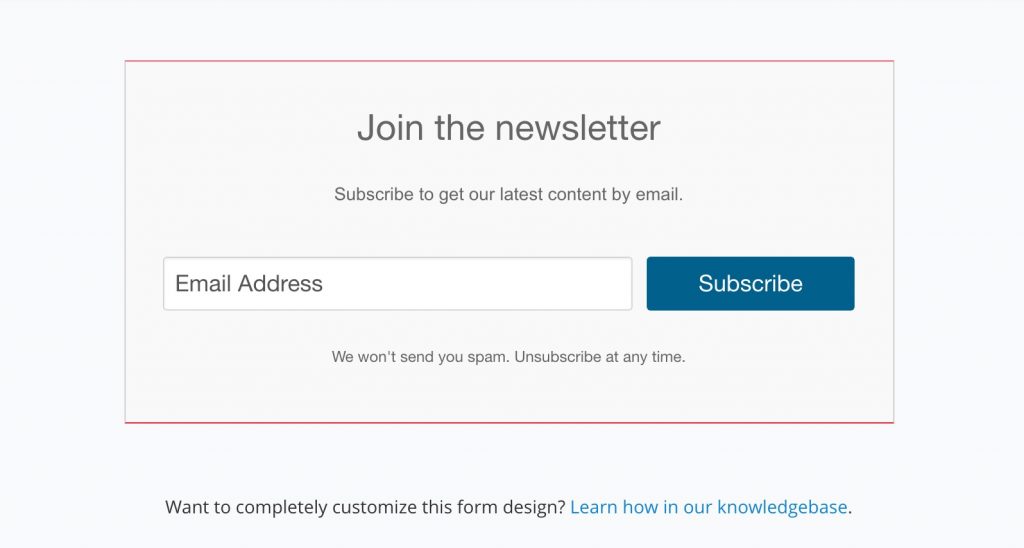
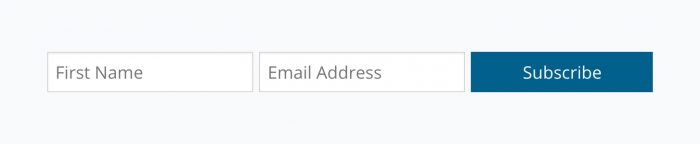
You can also click on the form to adjust the text and copy. You can’t format the headline “Join the Newsletter” but you can change the copy. You’ll notice when you click on the subheading that you have many more options to format the text. You can add hyperlinks and images, too. So, have fun with it!
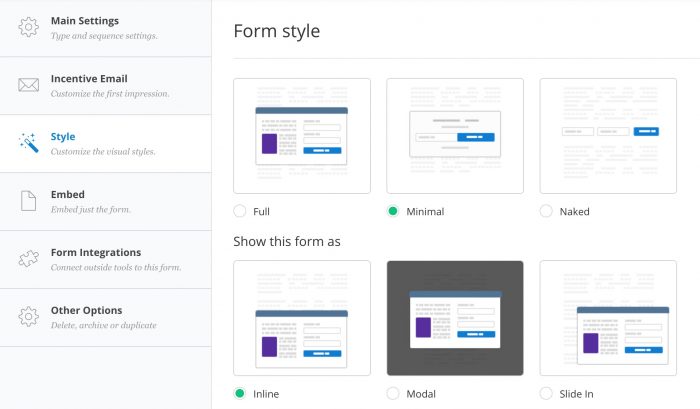
If you go into the form settings and then into style, you have a few more options to change the format of the form.
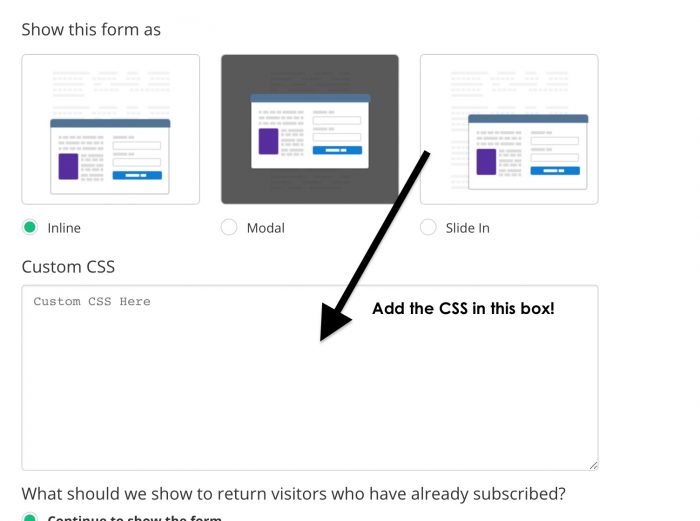
In this section, you can also add Custom CSS.
Advanced Ideas on How to Customize a ConvertKit Form
To keep it simple to start, I went back and chose to create a Naked Form. Many of these customizations can be made with the other forms available within ConvertKit.
Decrease the Space Above and Below the Form and Allow for Maximum Width
.page .ck_form.ck_naked {margin: 10px auto; max-width: none; }
Remove the Naked Form’s Maximum Width But Keep the Space Formatting
.ck_form.ck_naked .ck_form_fields {padding: 10px 0;}
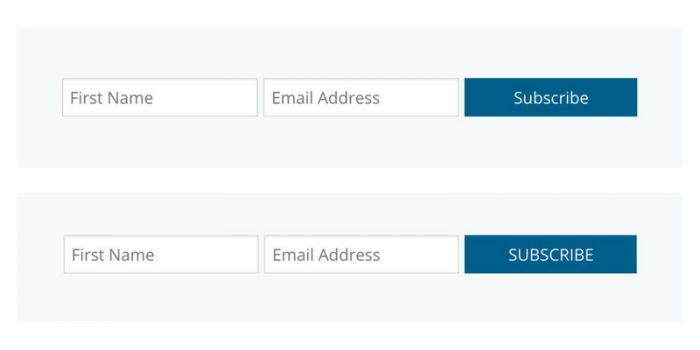
Change the Naked Form’s Button Text to Uppercase
.ck_form.ck_naked .ck_subscribe_button {text-transform: uppercase;}
Make the Bottom Border Color the Same as the Top
.ck_form.ck_horizontal {border-bottom-color: #HEXCOLOR;}
Make the Top and Bottom Border the Same Size:
.ck_form.ck_horizontal {border-top-width: 10px;}
Change the Large Text on the Left to Be Centered
.ck_form_content h3 {text-align: center;}
Center the Image
.ck_image {text-align: center;width: 100%;}
.ck_label {text-transform: uppercase;}
Hide the “Powered by ConvertKit” text
.ck_powered_by { display: none !important; }
Change the Background Color
.ck_form {background-color: #3A3F57;}
Add a Border Around the Box
.ck_form {border: 1px solid #eee;}
Customize the Color of Your Borders
.ck_form {border-top-color: #FFF8F6; border-bottom-color: #FFF1EE; }
Remove the Borders from Your Form
.ck_form {border-top: none; border-bottom: none; }
Change the Color of the Subscribe Button
.ck_form .ck_subscribe_button { background: #3A3F57;}
Change the Size of the Paragraph Font
.ck_form_content p {font-size: 16px;}
Change the Size of the Font of the Subscribe Button
.ck_form .ck_subscribe_button {font-size: 15px;}
Change the Color of the Text
.ck_form {color: #3A3F57;}
Add a Day of the Week to Your Email
{{ ‘now’ | date: “%A” }}
Capitalizing your Subscriber’s First Name
{{ subscriber.first_name | capitalize }}
Change the Font of the Input Fields
.ck_form.ck_naked input[type=”text”]::-webkit-input-placeholder, .ck_form.ck_naked input[type=”email”]::-webkit-input-placeholder {font-family: Playfair Display;}
.ck_form.ck_naked input[type=”text”]::-moz-placeholder, .ck_form.ck_naked input[type=”email”]::-moz-placeholder {
font-family: Playfair Display;}
.ck_form.ck_naked input[type=”text”]:-ms-input-placeholder, .ck_form.ck_naked input[type=”email”]:-ms-input-placeholder {
font-family: Playfair Display;}
Change the Font of the Subscriber Button
.ck_subscribe_button {font-family: Playfair Display;}
Change the Shape of the Subscribe Button to Round
ck_form.ck_naked .ck_subscribe_button {border-radius: 30px;}
Play around with these custommizations and let me know what you think!
Talk to you soon!
Marnie