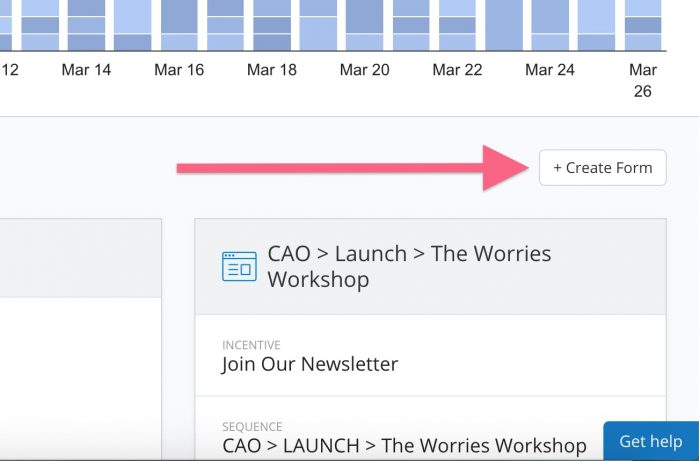
It is easy to create a form in ConvertKit. Go to the top toolbar, click on “Forms”, then choose “Create Form” from the right-hand side of your screen.
Creating & Customizing Your ConvertKit Forms
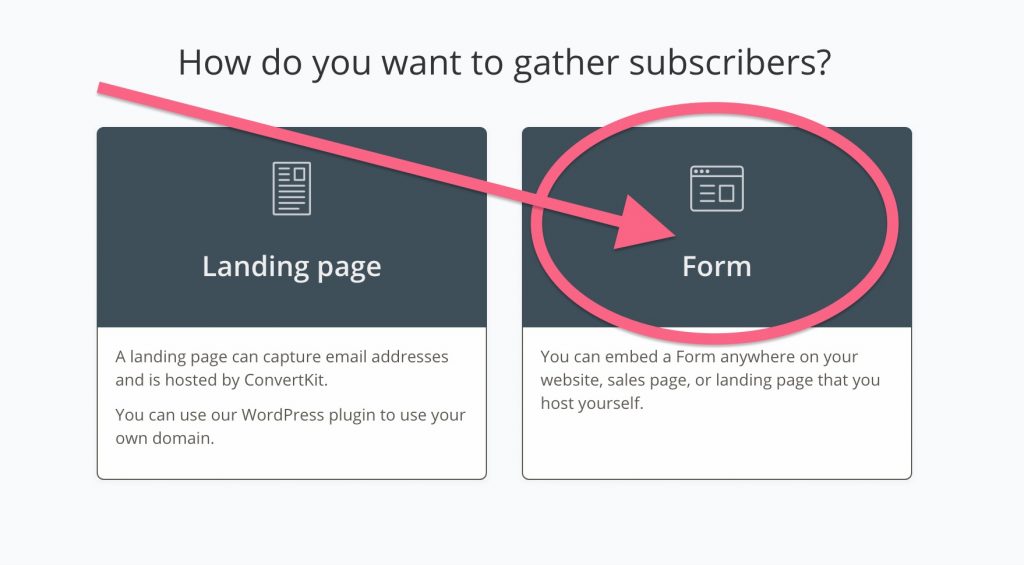
Then choose “Form”
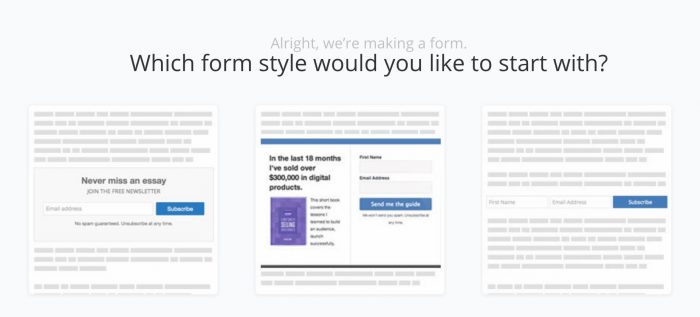
The next screen allows you to choose the type of form you would like to display in your posts. Honestly, it doesn't matter too much. Choose the one that works for you and your brand.
Here is where the fun stuff comes in…you don't have to settle for the default design (please don't settle for the default design).
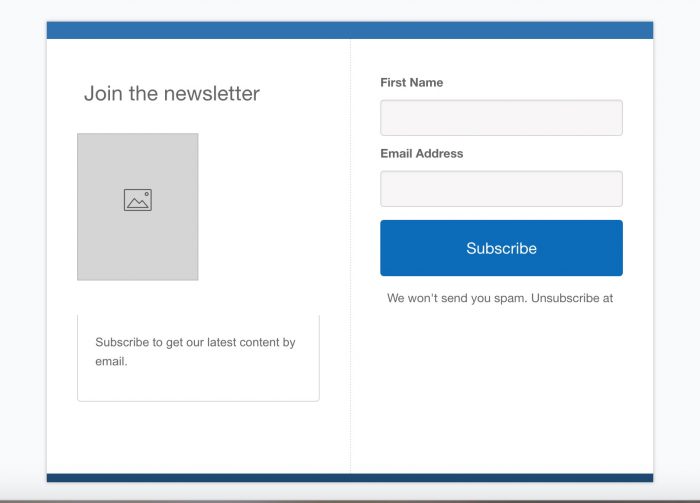
Here is where you customize your form. Go to “settings”

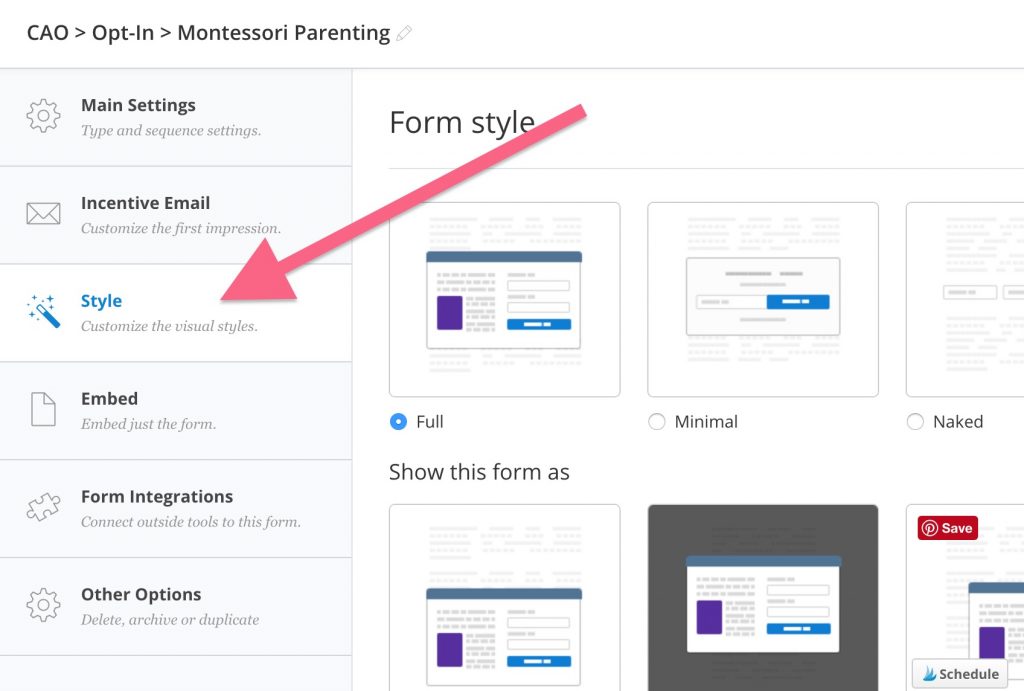
Then you will see this screen…click on “Style” on the lefthand toolbar
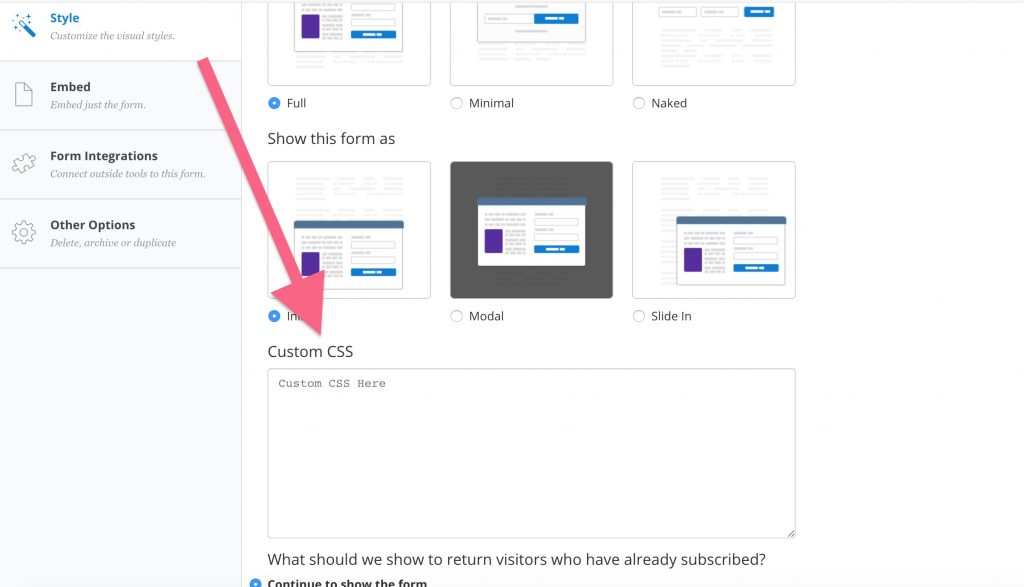
Then scroll down to customize CSS (code that dictates the visual output of your form)
How to Customize Your ConvertKit Forms by Adding CSS
Make the borders the same color and the same size
.ck_form.ck_horizontal {border-bottom-color: #YOURHEXCOLOR; border-top-width: 10px;}
Change the button text to uppercase
.ck_form.ck_naked .ck_subscribe_button {text-transform: uppercase;}
Center the image
.ck_image {text-align: center;width: 100%;}
Change the field labels to uppercase
.ck_label {text-transform: uppercase;}
Hide the “Powered by ConvertKit” text
.ck_powered_by { display: none !important; }
Change the Background Color
.ck_form {background-color: #3A3F57;}
Don't Settle for the Default ConvertKit Design
There are so many variations and options to make your ConvertKit form customized to the look and feel of you and your brand…
From this…
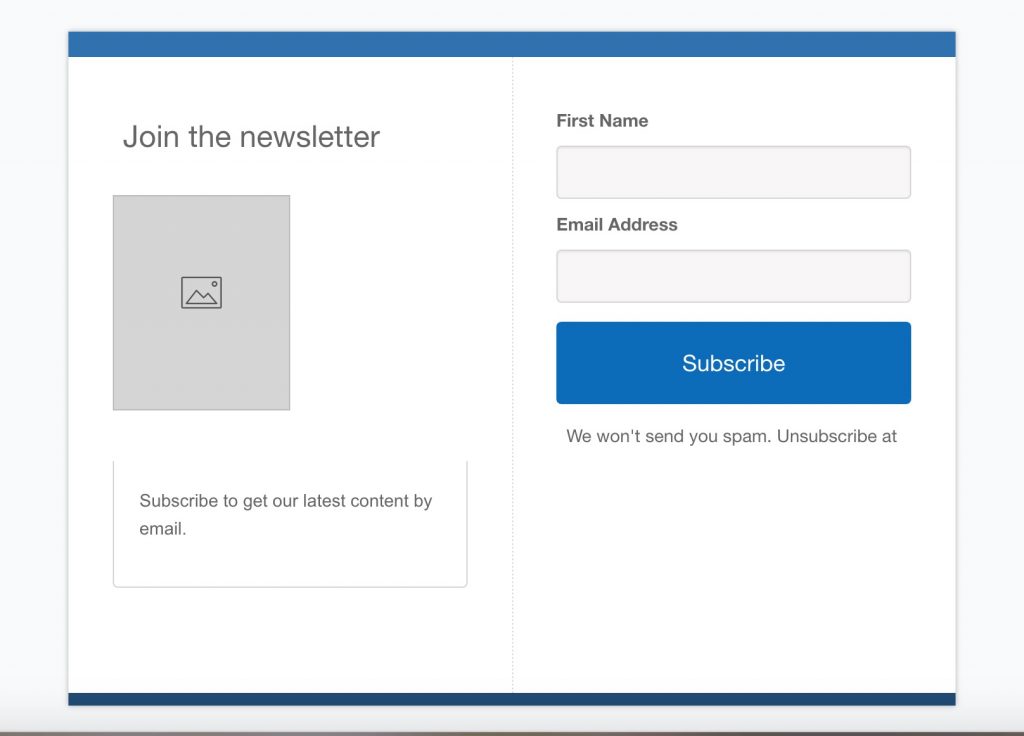
To this…

I hope you found this post useful!
